


教程演示虚拟机地址:192.168.200.129
安装宝塔直接运行命令即可。
yum install -y wget && wget -O install.sh http://download.bt.cn/install/install_6.0.sh && sh install.sh
输入y回车确认安装
搭建环境:
CENTOS 7以上系统
Nginx1.14
mysql5.6
php5.6
1、关闭防火墙、开放端口
宝塔放行端口:1:65535
或单独打开
关闭防火墙
systemctl stop firewalld
systemctl disable firewalld
PS:如果使用腾讯云或阿里云记得把控制台的端口也打开
2、上传bx.tar.gz到服务器根目录(根目录不是root目录!!使用WinSCP或其他工具上传数据,也可以直接宝塔传!!)
解压bx.tar.gz
cd /
tar zxvf bx.tar.gz
给予 777权限
chmod -R 777 /data
3.环境配置
ln -sf /usr/lib64/mysql/libmysqlclient.so.18 /usr/lib64/libmysqlclient.so.16
4、设置数据库密码为:123456(在宝塔直接设置)
命令行输入
cd /data
./sk
数据库创建结束。可以通过宝塔查看是否创建成功。(数据库 – 点击 从服务器获取 获取到9个就正确的)
运行后为了安全可以把 sk 文件删除
6、搭建网站
新建一个网站-你的ip:端口 或域名:端口
有端口就添加端口这里的端口81
网站目录设置\www\wwwroot\GameApp2
———————————————————————
7、服务端和网站修改 192.168.200.129 修改为你的IP
服务端修改:
data\Debug\LogicServer\CrossSourceServer.config
data\Debug\LogicServer\data\config\Cross\CrossSourceServer.config
data\Debug2\LogicServer\CrossSourceServer.config
data\Debug2\LogicServer\data\config\Cross\CrossSourceServer.config
data\Debug_cross\LogicServer\data\config\Cross\CrossSourceServer.config
网站修改:
/www/wwwroot/GameApp2/index.js
/www/wwwroot/GameApp2/index1.js
/www/wwwroot/GameApp2/GetServerList.php
到此算服务端就可以了,下面看看客户端
7、启动游戏服务
启动 每条命令新开一个窗口会话
cd /data/build
./run.sh
cd /data/Debug
./run.sh
cd /data/Debug2
./run.sh
cd /data/Debug_cross
./run.sh
启动后可以通过
端口查看命令 netstat -lntp
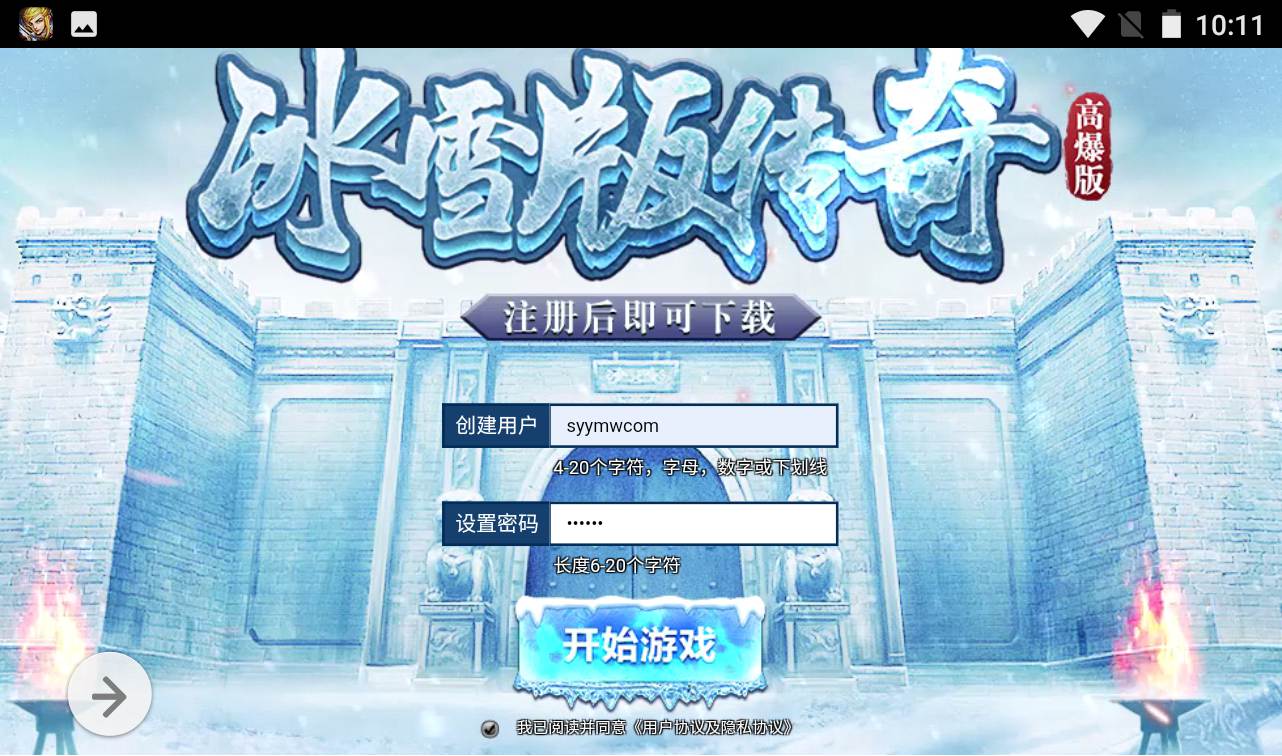
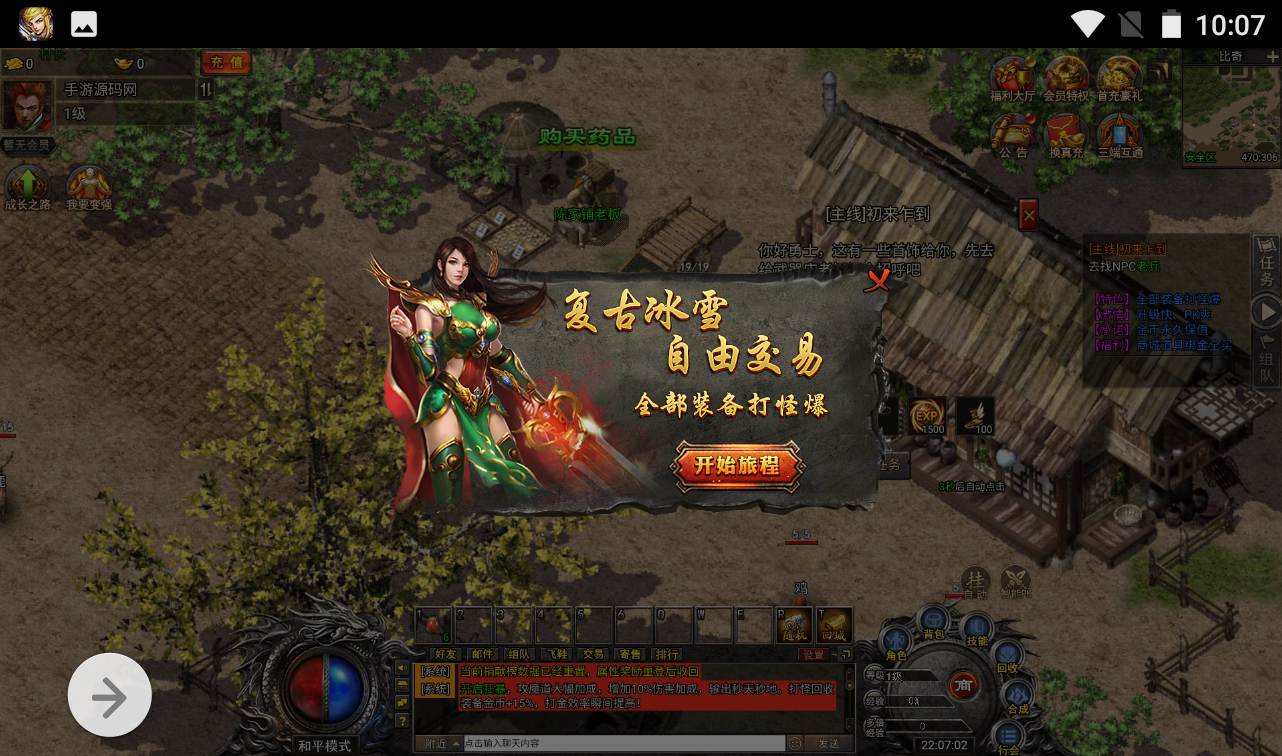
直接 浏览器访问 http://ip:81
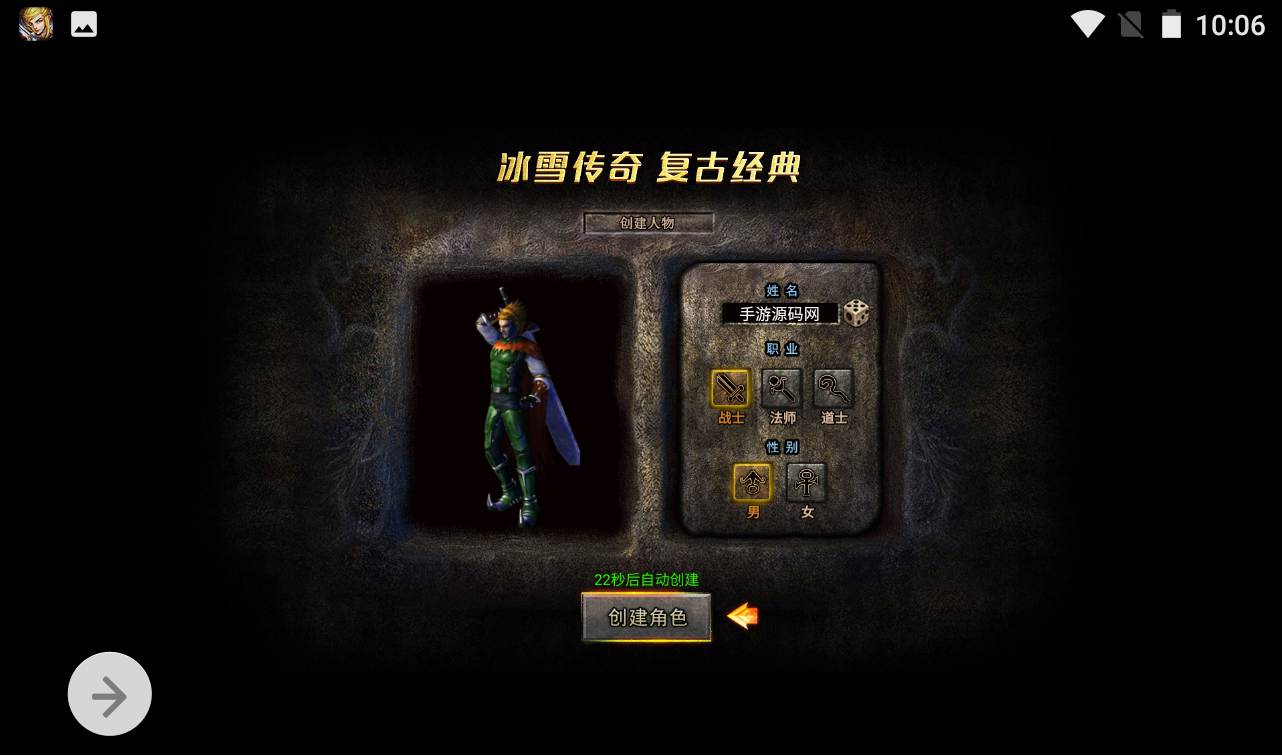
8、客户端修改 (客户端默认地址192.168.200.129)
参考单独视频
PS:
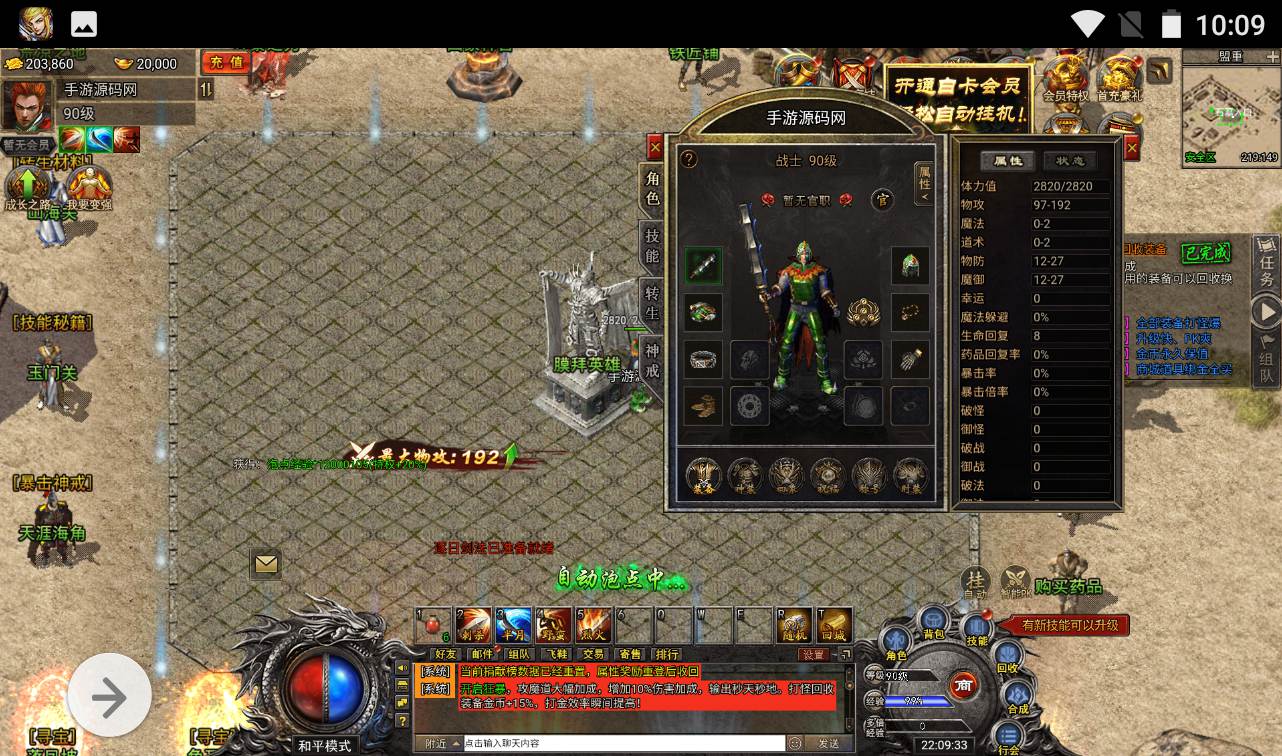
简单介绍下GM后台使用
直接输入
http://ip:81/gm
GM码:syymw.com
